Starting a freshwater habitat for your finned mates? G’day! This guide’s here to simplify the process, whether you’re a first-timer or refreshing your skills. A well-planned fish tank isn’t just about looks—it’s about creating a stable home where your aquatic pals can thrive. Why bother with a checklist? Skipping steps like testing tap water or selecting the right heater can lead to hiccups later. Proper planning helps avoid cloudy water, stressed fish, or equipment mishaps. We’ve packed this guide with tips from seasoned Aussie aquarists to save you time and stress. Location matters more than you’d think! Keep your tank away from direct sunlight and high-traffic areas. Stable temperatures and minimal vibrations are key. Next, focus on water quality—using a dechlorinator for tap water and a reliable filter sets the foundation for success. Patience pays off. Rushing to add fish before the environment stabilises? Recipe for disaster. Let the system cycle properly to build beneficial bacteria. Stick around—we’ll walk through equipment choices, cycling tricks, and creating a stress-free transition for your aquatic crew.
Key Takeaways
- Planning prevents common pitfalls like unstable water conditions or equipment failures.
- Position your tank in a low-traffic area with consistent temperature control.
- Always treat tap water to remove harmful chemicals before adding it to the system.
- Invest in a quality heater to maintain tropical species’ needs.
- Allow the tank to fully cycle before introducing fish to avoid health risks.
Laying the Foundation for Your New Aquarium
Creating a thriving underwater world begins with smart groundwork. Where you place your tank and how you prepare its base impacts everything from temperature control to fish health. Let’s break down the essentials for setting up a stable environment. https://www.youtube.com/watch?v=FMcqXQyNlR4
Selecting the Ideal Location and Stand
Choose a spot away from windows and heating vents. Direct sunlight causes algae blooms, while drafts trigger temperature swings. A sturdy stand is non-negotiable—water-filled tanks weigh heaps! Opt for waterproof materials like powder-coated steel or marine-grade timber.
Determining the Best Tank Size and Placement
Measure your space before buying. A 10-gallon unit suits beginners, offering room for basic equipment without overwhelming maintenance. Leave 15cm clearance around the tank for filter access and cord management. Gravel isn’t just decorative—it houses bacteria that break down waste. Spread a 5cm layer across the base to support biological filtration. As one Sydney aquarist notes: “Proper substrate depth makes water testing less stressful over time.”
- Check floor stability—avoid uneven surfaces
- Use a spirit level during setup
- Position power points within reach
Rushing this stage leads to headaches later. Dedicate time to measure twice and place once. Your aquatic mates will thank you for the stable home!
Aquarium Setup Checklist: Everything You Need for a New Tank
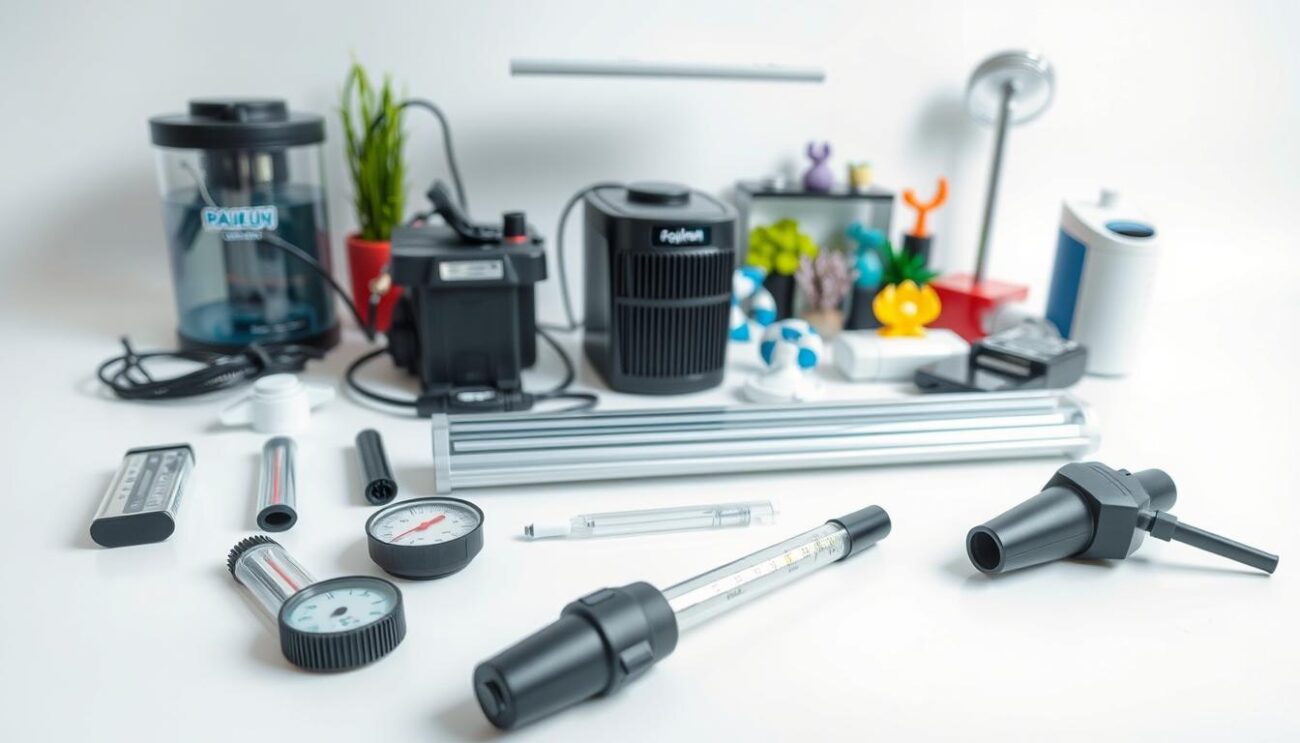
Nailing your equipment choices makes the process smoother from day one. Let’s unpack the gear that keeps water clean, creatures healthy, and maintenance manageable. 
Essential Equipment and Must-Have Accessories
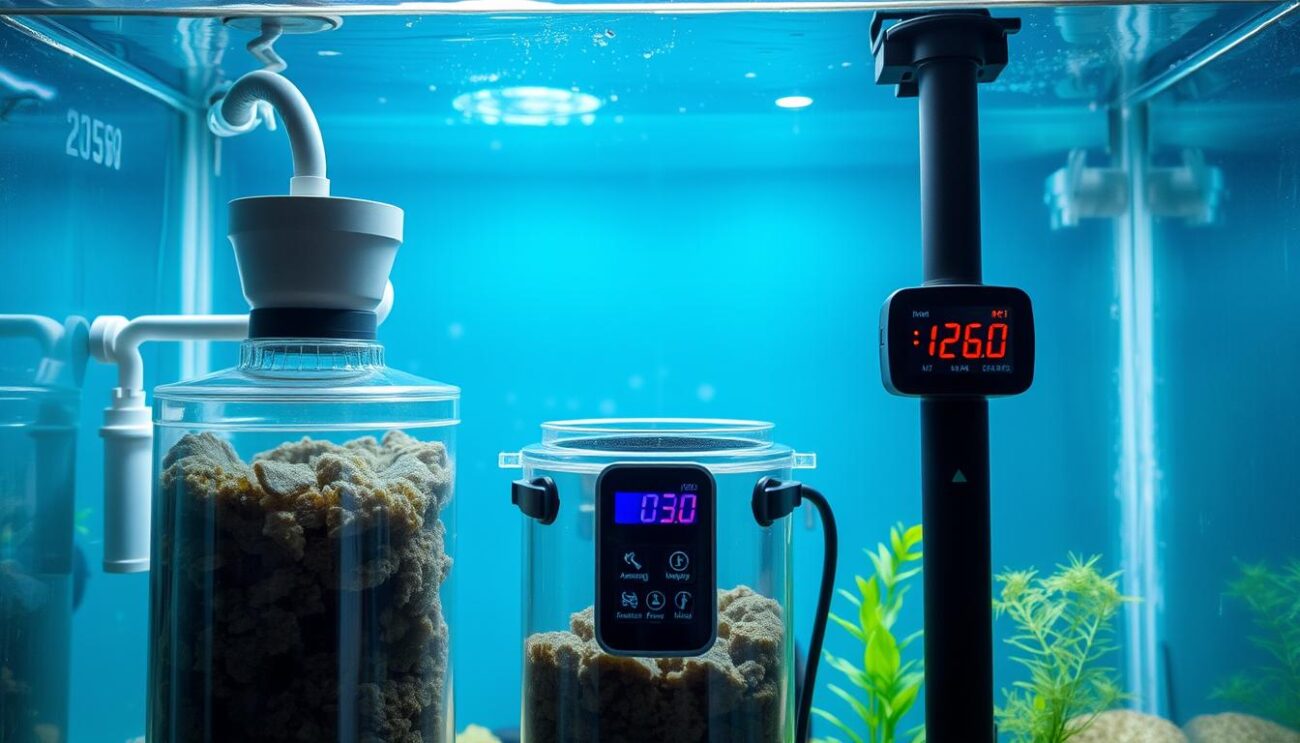
Start with a reliable filter—it’s the workhorse managing waste and oxygen levels. Pair it with an adjustable heater (50-100 watts for small tanks) to maintain stable temps. Lighting matters too: LED strips with timers support plant growth while preventing algae overdrive. Don’t skimp on these basics:
- Water conditioner for tap water detox
- Test kits to monitor ammonia and pH levels
- Substrate that supports biological filtration
Budget Considerations and Quality Tips
While rimmed glass tanks save cash upfront, invest in gear that lasts. A Melbourne fishkeeper advises: “Buy once—a quality filter avoids six months of headache.” Expect to spend $200+ for a proper starter setup. Smart savings:
- Check Gumtree for second-hand stands
- Compare store prices online before buying
- Prioritise equipment that simplifies tank maintenance
Remember, your initial choices shape the environment for years. Balance thriftiness with essentials that keep water parameters in check. With the right tools, you’ll set fish tank routines that feel effortless over time.
Building a Healthy Environment for Your Fish
Crafting a thriving aquatic home starts with invisible heroes – balanced water chemistry and reliable gear. Getting these elements right means your fish plants will flourish, and scaly mates avoid stress-related illnesses. 
Water Wisdom: The Liquid Lifeline
Test kits are your best mates here. Weekly checks for ammonia spikes or pH swings prevent disasters when adding fish. Always treat tap water with conditioner – Perth aquarist Mia Cooper warns: “Chlorine burns gills faster than you’d think.” Cycling your new tank takes 4-6 weeks. This builds bacteria that convert fish waste into safer nitrates. Patience here means fewer casualties later.
Gear That Guards Your Ecosystem
Match filters to your fish tanks’ size – hang-on-back models suit most setups. For tropical species, an aquarium heater maintaining 24-26°C is non-negotiable. LED lights with sunrise settings reduce shock when setting fish in their new home. Smart setup order matters:
- Position equipment before filling (tank first rule)
- Hide heaters behind plants for natural looks
- Use timers to automate heat water cycles
Remember, stable conditions let fish plants oxygenate water naturally. It’s a win-win for beauty and biology!
Step-by-Step Guide to Setting Up and Cycling Your Aquarium
Ready to bring your aquatic vision to life? Let's roll up our sleeves and transform that empty glass box into a thriving ecosystem. This hands-on phase combines careful preparation with smart biological strategies.
Installing Equipment and Adding Decorations
Start by rinsing gravel in a colander until water runs clear. Position decorations like driftwood or rocks, scrubbing them to remove dust. Fill the tank halfway with tap water, then add water conditioners to neutralise chlorine. Mount the filter on the back panel, ensuring intake tubes sit 5cm above the substrate. Submerge the heater vertically near water flow areas. Brisbane aquarist Lee Tran advises: "Test gear for 48 hours before adding tropical fish – faulty equipment shows up fast."
Initiating the Cycling Process for Beneficial Bacteria
Add a pinch of fish food daily to simulate waste. As it decomposes, ammonia levels spike – this feeds nitrifying bacteria. Use this table to track progress:
| Method | Time Required | Best For |
|---|---|---|
| Fish food | 4-6 weeks | Beginner fish keeping |
| Liquid ammonia | 3-4 weeks | Advanced setups |
| Established media | 1-2 weeks | Quick new fish additions |
Maintain water temperature between 24-26°C using your heater. If using air conditioning, keep the room stable to avoid fluctuations. Test ammonia and nitrite weekly – when both hit zero, your tank can safely host tropical fish. Wait at least three days after cycling before introducing new fish. Add species gradually to keep bacteria colonies balanced. This methodical approach helps make safe, sustainable habitats where scaly mates can flourish for years.
Conclusion
Building a thriving aquatic ecosystem rewards patience and attention to detail. From selecting stable surfaces for your tank aquarium to cycling water for beneficial bacteria, each step shapes long-term success. Quality substrate and glass choices aren’t just aesthetic—they support plant roots and prevent leaks that disrupt water balance. Lighting plays dual roles: it showcases your plants while regulating their growth cycles. Pair this with weekly aquarium water tests to catch pH shifts early. Remember, those invisible bacterial colonies work overtime to break down waste—don’t rush their development when setting up. Stick to your checklist like a trusty roadmap. Local aquatic stores stock solutions for common hiccups, from algae blooms to heater glitches. With thoughtful planning, your new aquarium becomes a low-maintenance haven where plants and fish flourish together. Ready to dive in? Your scaly mates are counting on you to set aquarium foundations right. Grab that gear, follow the steps, and watch liquid magic unfold!


