In this article, I will show you the steps to set up new tank for your first freshwater aquarium.
If you are serious about how the best tank is set up, you will find that there are many things to consider such as fish compatibility, tank size, water conditioner, and tank maintenance.
By the end of this tutorial, you will know:
Which tank size to choose?
How is the best tank set up?
What kind of equipment do you need?
What kind of fish to keep?
Why start with a freshwater aquarium?
Many aquarists who are just starting will believe that there is no difference between maintaining freshwater and a saltwater aquarium.
But there is a significant difference in the maintenance mode of both.
The reason I recommend starting with a freshwater aquarium is that freshwater fish are less expensive than saltwater fish.
They are also much healthier, which means they are easier to care for than saltwater fish. If any problems happen during maintenance, freshwater fish will be less fragile than saltwater fish.
Saltwater aquariums are more expensive to set up and maintenance is also more precarious. They require additional equipment, special lighting, and a lot of extra work during a water change.
Therefore, until you gain some experience, I recommend starting with a freshwater tank. (Yes, I am very sincere in this advice!!)
If you want to know more about which fish are the easiest to keep, read my deep case study here: Top List A Must-Visit Tropical Fish Store For Beginners.
Step 1: Choose the right tank size

Choosing the right tank size is crucial to the health and well-being of your fish.
Larger tanks are more stable than small tanks but since you are a newbie I would recommend starting with a small set up new tank and your odds of success will be higher.
Besides, the small tank will help you save money. I bet you won't want to spend a ton of money at first when you're just starting with fish farming, as it's very easy to run the risk of the fish dying and losing money.
If you already know the type of fish you will be keeping, check their tank requirements and size your tank accordingly based on how many fish you want to keep.
I wouldn't recommend choosing a tank smaller than 10 gallons though, in fact, a 20-gallon tank is best for beginners.
You can choose your aquarium supplies or you can purchase a beginner aquarist kit test that includes the tank, filter, water conditioner, fish food and other things that you need. may need.

A quick search on the Micro Aquatic Shop for freshwater aquarium kits will return many examples of all-inclusive beginner's kits that ship everything needed to set up your tank.
Micro Aquatic Shop also has combos for beginners such as:

✅ TINY BESTIE COMBO: FOR NEWBIE SHRIMP LOVER.

✅ LITTLE WAVES COMBO: FOR NEWBIE FISH LOVER.

✅ MINI OCEAN COMBO: FOR NEWBIE FISH & PLANT LOVER.
Another thing to consider is where exactly you will be placing your tank.
You don't want to place the tank in direct sunlight, so choose a spot with natural light but not too much.
Next, make sure you have a sturdy piece of furniture with a flat surface that can support the weight of the tank along with all the other equipment (filters, lights, etc.).
Cabinets are recommended for larger tanks, while any sturdy furniture with flat surfaces will suit smaller tanks.
Step 2: Clean your new tank thoroughly.

When you clean your new tank, take a bucket of warm water (no detergent) and wipe every surface inside and out, then dry it all with a paper towel.
By cleaning the tank well, you will prevent all dirt from entering your fresh aquarium water.
Place your new tank on a solid platform.
Some of the tanks we buy come with a stand while others we can put on a surface at home.
Most commercial aquarium stands have adjustable feet or legs. Take your time to get to 100%, otherwise, your tank may be damaged further later.
If you've created a custom stand, make sure it's completely flat and bolted or bolted together.
Aquariums full of gravel, rocks, and water are heavy, so make sure your shelves or racks can support the weight.
To give you some idea of the weight of an aquarium, see the table below. Note, these weights are ONLY WATER.
Aquarium size Weight of water:
** 10 gallon tank 83 lbs (37.6kg)
** 20 gallon tank 166 lbs (75.2kg)
** 40 gallon tank 332 lbs (150.5kg)
Step 3: Add substrate to the aquarium.
How you add the substrate will depend on the type of substrate you are using and whether you intend to 'layout' your new aquarium.
Many aquarists will slope their base so that there is a thinner layer in front and a deeper layer in the back.
This is especially effective if you place live plants in the back because they will want to root deeply into the substrate.
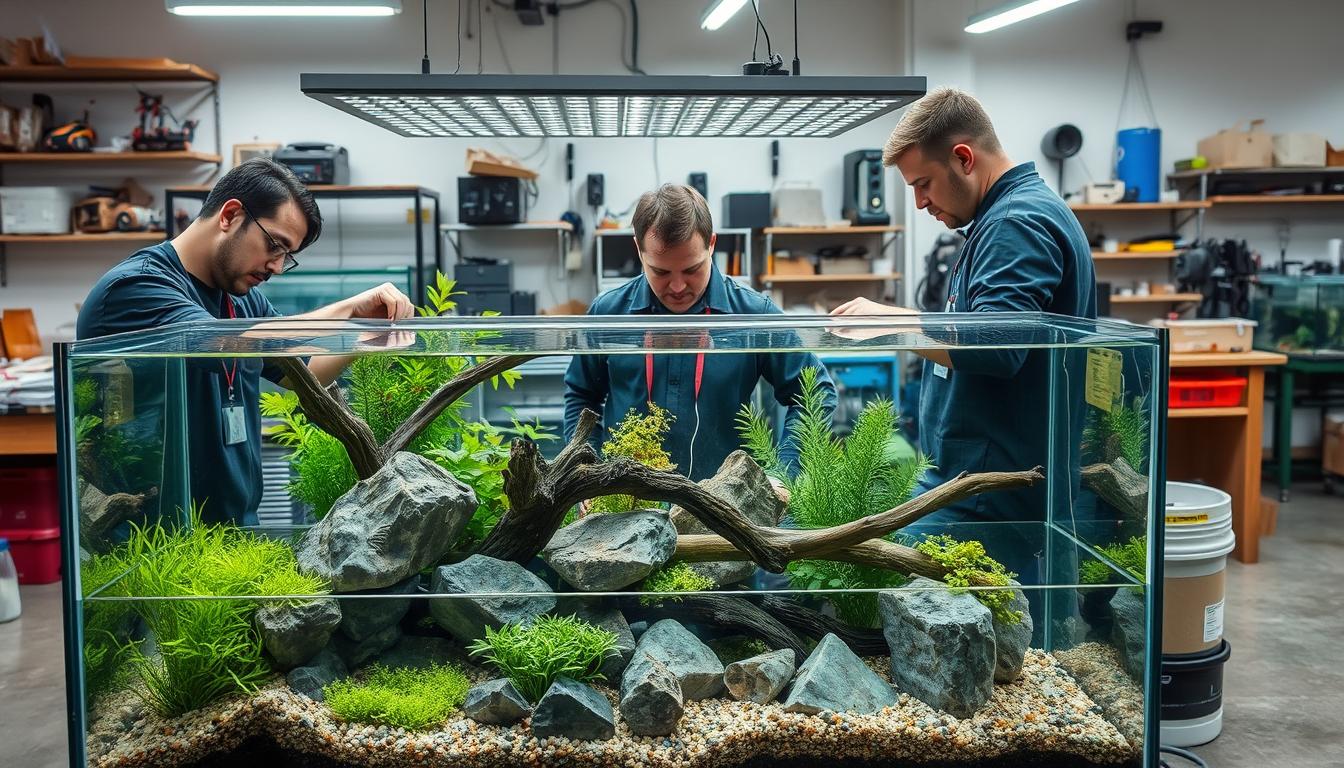
Step 4: Add stones, wood and decorations.

Now is the time to add whatever type of stone, wood, or decoration you want to place in the aquarium. Whatever you're using, make sure it's firmly in place and cannot be toppled over.
If you're stacking rocks, consider gluing them together with an aquarium-safe adhesive.
Larger fish will easily dig through the base of the aquarium, which can cause rocks and decorations to become unstable and topple over.
Step 5: Add about 6” (15cm) of water.
Now that you have the substrate and decorations, add about 6 inches (15 cm) of water. By adding only a little water, you allow the substrate to settle so that the stability of the stones and decorations can be tested.
Step 6: Growing aquatic plants.

If the tank is dry, it can be difficult for plant roots to get into the substrate.
If the tank is full, your entire arm and sleeve will get wet when you try to reach down when adding plants.
By adding a few inches of water, it will be much easier to grow live plants.
When adding live plants, the best practice is generally considered to be to plant the tallest trees in the back and the lowest ones in the front, with everything else in between.
Step 7: Set up heaters and filters.

The heater will need to be located where there is a flow of water. If water is not circulating your heater, you will have two problems.
First, if the water is not circulating, the area where the heater is located will warm up, but the rest of the water will remain cold.
Second, without proper circulation, your heater can overheat and stop working.
Most aquarium heater manufacturers recommend installing their heaters at a 45℃ angle for the most efficient heating.
If you are using a canister filter, place the inlet at one end and the outlet at the other for maximum water circulation.
Step 8: Fill your aquarium to almost full.
Now is the time to fill your aquarium to almost full. Don't rush to fill it up because you may end up putting your hand in the tank. You don't want it to overflow.
Now, for the first time, your aquarium is full of water. Take a moment to check that all stones and decorations are still safe.
If the substrate has shifted when water is added, spread it back the way you want and check to see if any live plants are still in place.
Step 9: Add dechlorinator.
Unless you're using well water, chances are your tap water contains chlorine or chloramine.
The problem is that both chlorine and chloramine are very toxic to fish. They will kill the fish.
To solve the problem, we have to add a de-chlorinator every time we add tap water to our aquarium.
Over the years, I have tested many products and I can say that Seachem Prime is the best. I usually order this from the Micro Aquatic Shop and I've found their prices often very competitive.

Step 10: Turn on Heaters and Filters.
Now it's time to turn on your heater and filter.
All is well, the little light on your heater (if any) will come on to let you know that it is heating your water and your filter will start working. Some filters require pre-priming, so check the instructions for your particular filter.
If you are using a filter that hangs on the back or a carrying case, check carefully to make sure that the filter is not leaking.
You will be surprised at how quickly a hose on a canister filter can flush your tank to the floor. Trust me, I made it!
Step 11: Leave your aquarium to run for at least 7 days.
It is important to let your aquarium run for at least 7 days to allow it to cycle. What I mean is that the environmental cycle in the tank is cycled, suitable for the fish you are preparing to keep.
Step 12: Add fish.
The key is to add fish slowly, and by that I mean, if you're hoping to keep 50 Neon Tetras, add 10 this week, then another 10 the next week or so.
The reason I do this is to give the bacteria in the filter, which will process all the fish waste, a chance to multiply properly.
If we add only 50 Neon Tetras on the first day, the filter will not be able to convert their waste from very toxic ammonia to less toxic nitrate.

Whatever fish you're adding, increase your stock level slowly to give your filter a chance to keep up with the demand from fish waste.
Micro Aquatic Shop has started a bundle for newbies. The combos are created for beginners and are very easy to care for. Check here:
GOOD COMBO FOR BEGINNER AT AUSTRALIAN ONLINE FISH STORE.
Enjoy your reward!

That's it, you're done. Your new tank set up and the fish are in and everything is going smoothly. Now is the time to sit back and enjoy your new achievement.
I love setting up a new aquarium and even though I've done it many times, I still follow the same procedure and I still love it. I hope to set up more aquariums in the future.


