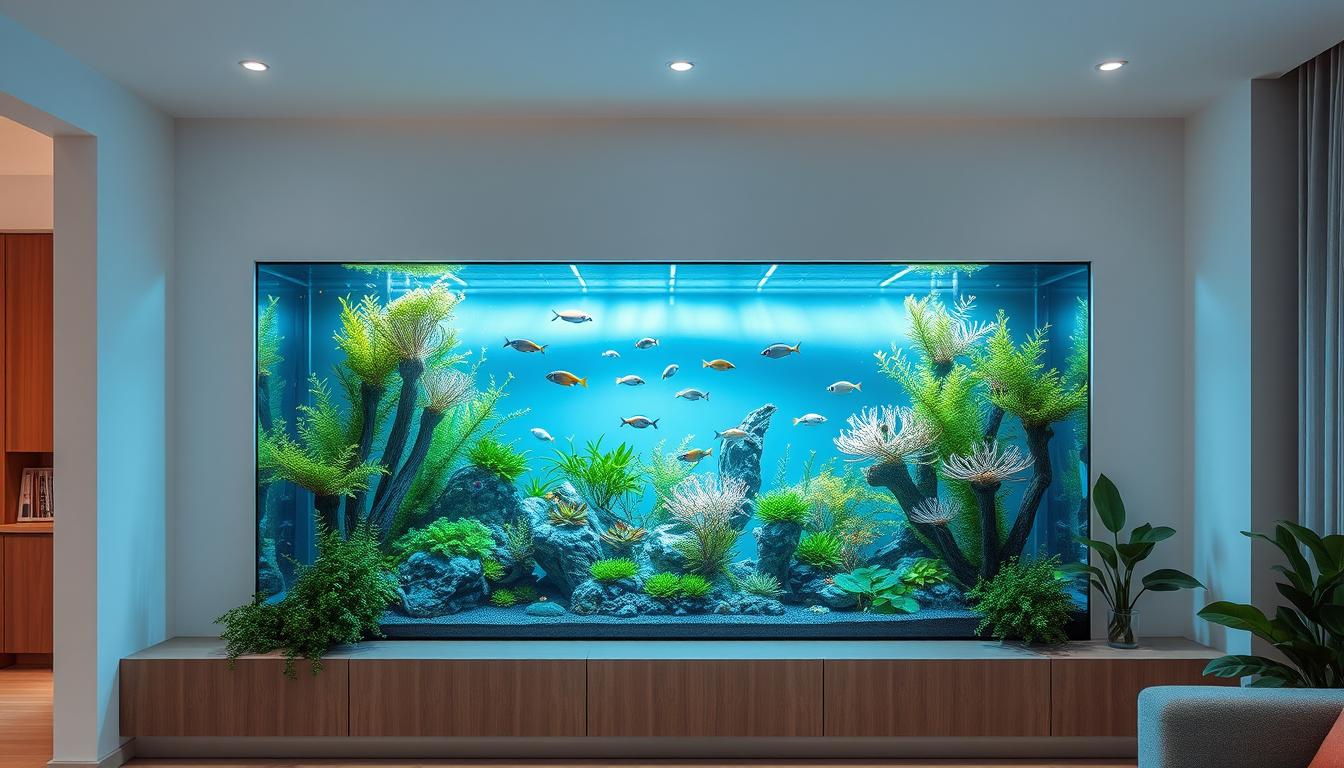
As part of the maintenance of the fish tank, cleaning is a challenging task for a fish tank owner even for those experienced ones. To help ease that burden here is a list of the step by step process in cleaning the fish tank that is generally accepted by both experienced and beginner fish tank owners.
Step 1: Water Testing

When a fish tank is new and not yet cleaned, it is best to test the water content to make sure that the water condition is at the right level. Ammonia, nitrite, nitrate, and water pH level are the ones that normally need to be tested.
Ammonia: 0 ppm
Nitrite: 0 ppm
Nitrate: 0 ppm
Water pH: 6.8 to 7.6 and 7.0 is considered neutral
For older fish tanks, the nitrite and nitrate levels should be lower than 40 ppm which is the acceptable value for aged fish tanks.
Step 2: Algae Removal

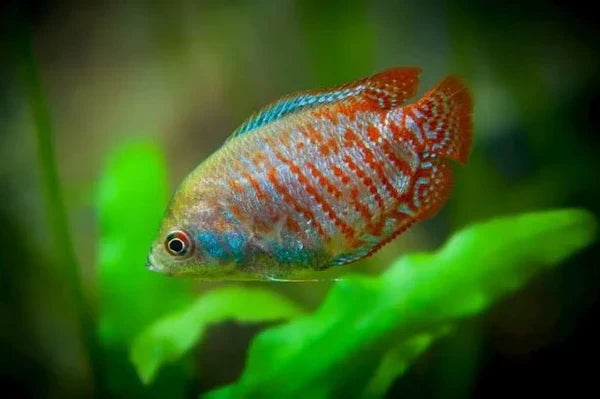
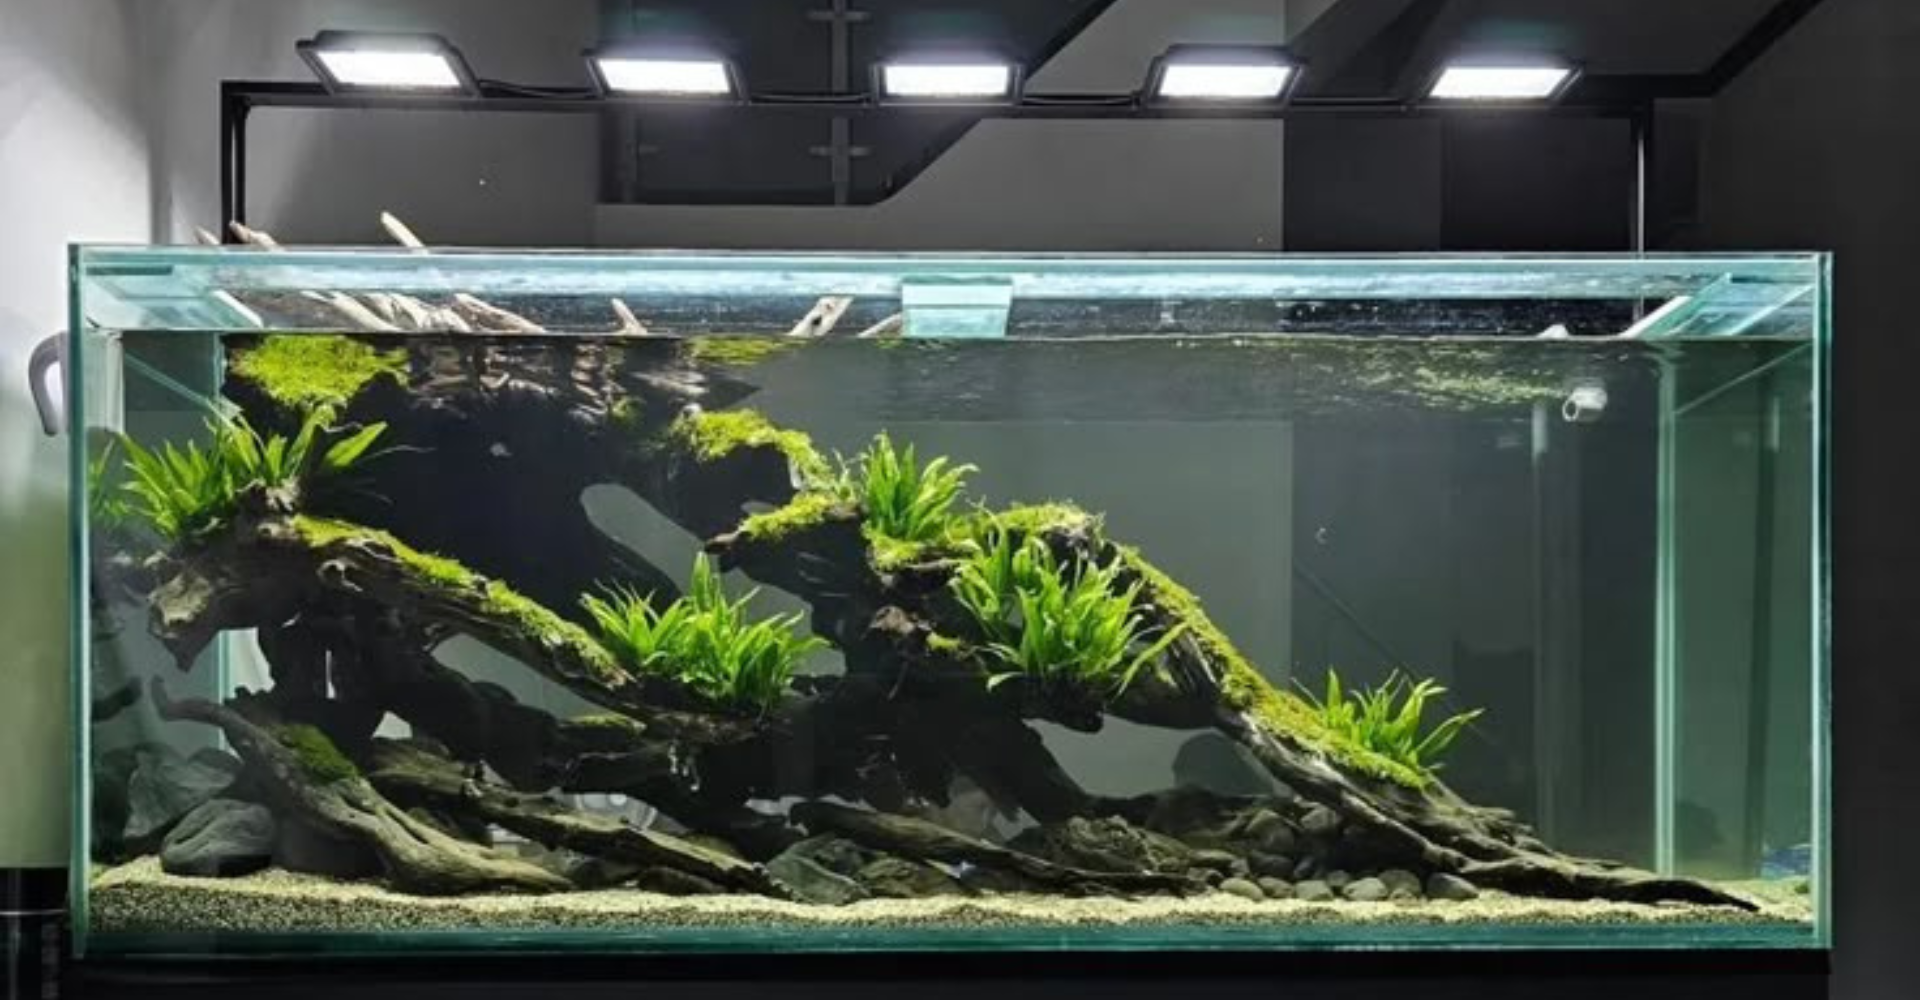
As the fish tank ages, so is everything in the fish tank. The accumulation of algae is just normal but should be regulated by cleaning the fish tank every now and then. If the fish tank's surface has algae film that needs to be cleaned, an algae scraper or sponge can be used to remove algae from the fish tank walls. The plants can also get infected by algae so wiping the plants can do the trick.
Step 3: Plant trimming

Live plants shed leaves every now and then so pruning the plants should be a habit. If the plants grow rapidly, trimming a few inches of the plant stem is not going to kill the plants as the goal is not to let the live plants overrun the entire fish tank.
Step 4: Equipment checks and cleaning

As filters work as garbage bins, the filters need to be cleaned when needed and it should always get checked to ensure optimal operation. Turning off the equipment when cleaning the fish tank is necessary as well because those equipment are intended to work with water and without water, the equipment may quit working.
Step 5: Cleaning Substrate

After cleaning the equipment, the substrate needs to be vacuumed to remove left-over food or waste materials that are accumulated at the bottom. This process is a bit tedious and requires a lot of patience as it really takes time to completely go over the pebbles or the sand at the bottom.
Step 6: Water change

Once all has been cleaned, water change can be done to balance the water composition and simply add a new set of clean water to the fish tank. Take note that the water temperature should be checked to match the current water temperature and the water should be tested before it can be added to the existing content. Depending on the water composition, 15%- 50% of the total water content can be changed.
Step 7: Equipment can be turned on

Now that the surface is cleaned, bottom substrate has been cleared and the new set of water has been added, turning on the equipment should be next.
Step 8: Glass surface cleaning

After cleaning the inside of the fish tank, the surface of the outside walls of the fish tank can be wiped clean to get a better look of the fish tank and the cleaner inside view.